npm发布自己的公网包步骤详解
初始化项目
- 比如我,创建了code-transfor-text_vue项目
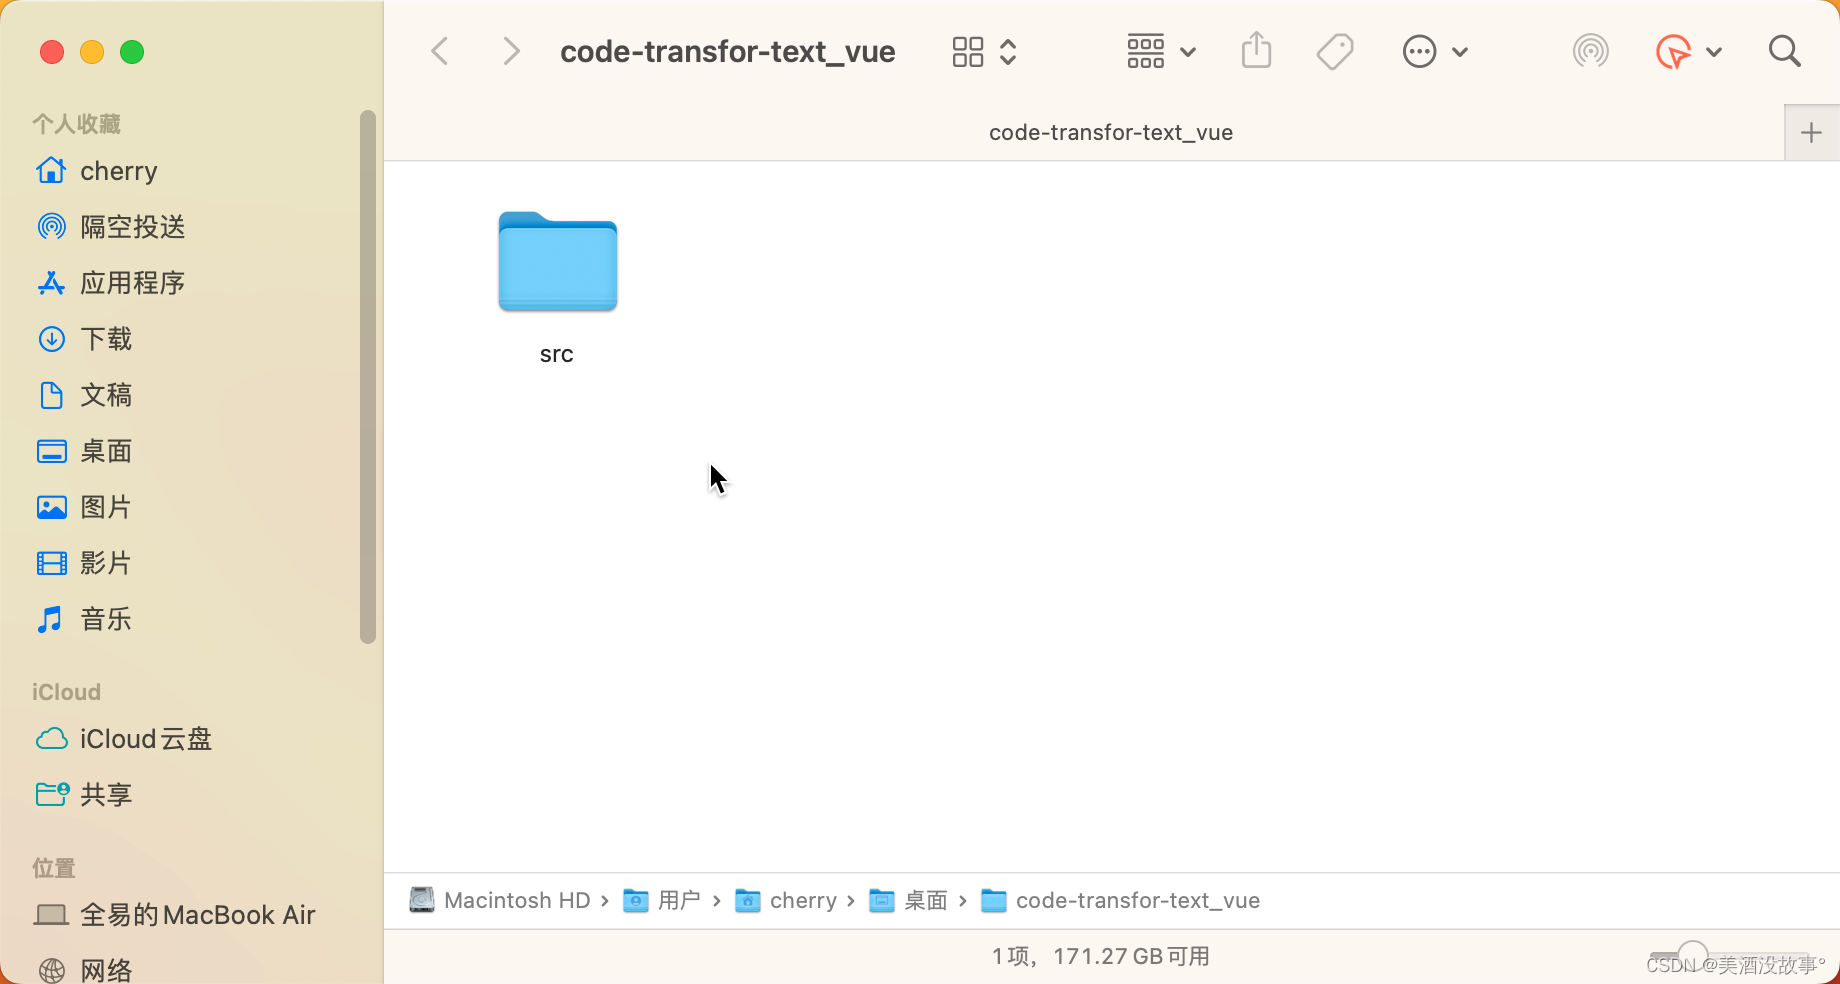

根目录初始化git
1
git init .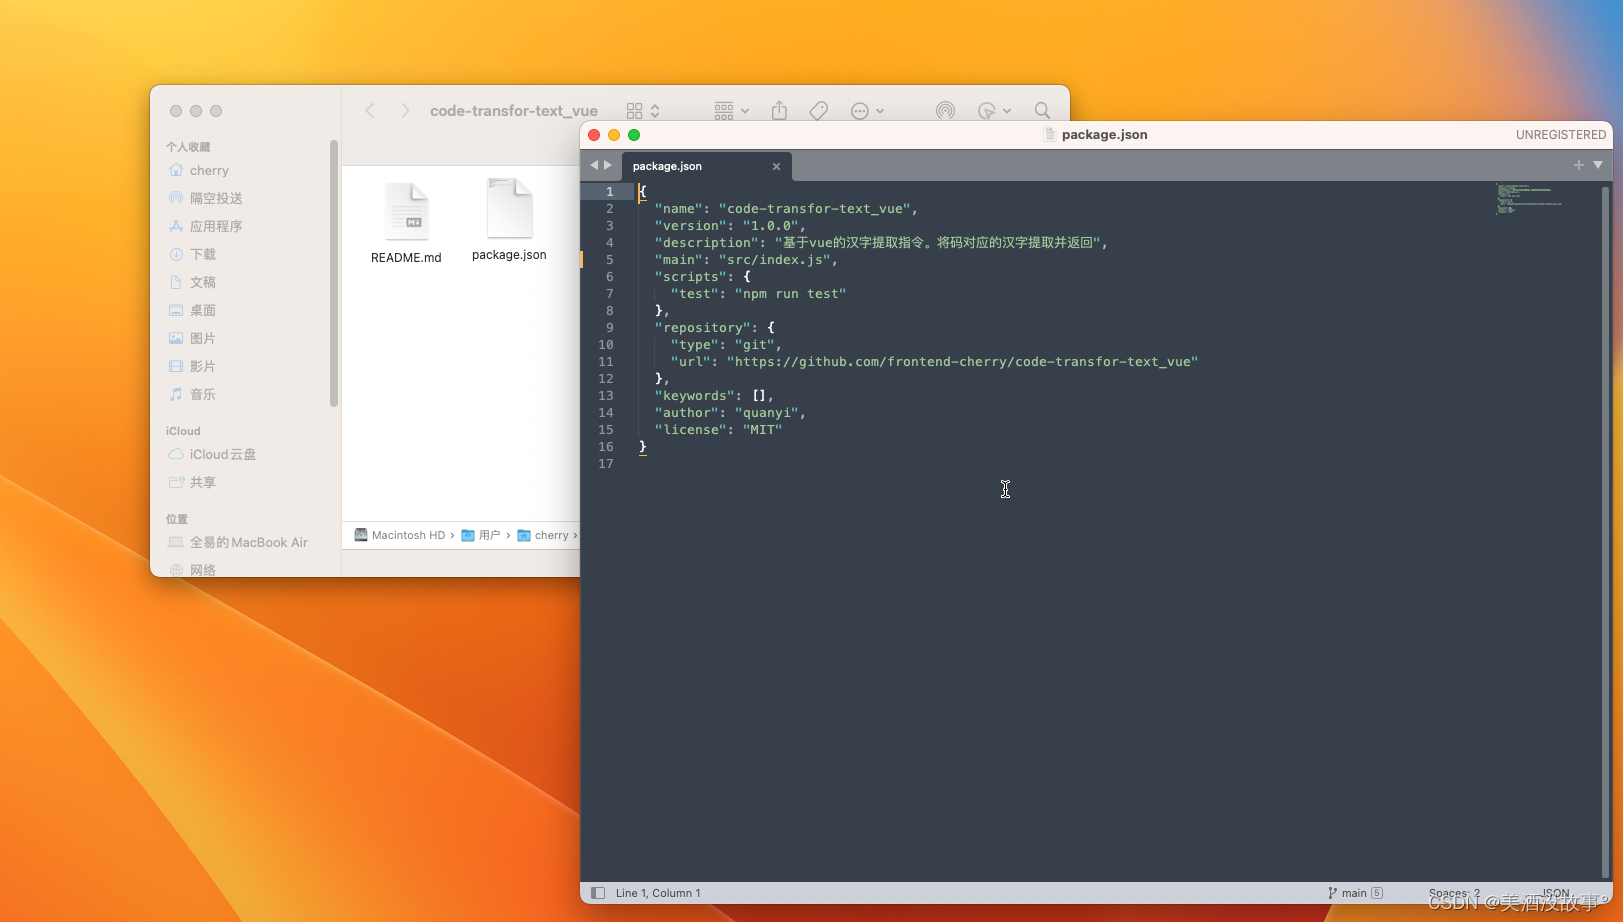
建立开源协议
给项目根目录手动创建LICENSE文件文件,没有后缀名1
2
3
4
5
6
7
8
9
10
11
12
13
14
15
16
17
18
19
20
21
22MIT License
Copyright (c) 2023 quanyi
Permission is hereby granted, free of charge, to any person obtaining a copy
of this software and associated documentation files (the "Software"), to deal
in the Software without restriction, including without limitation the rights
to use, copy, modify, merge, publish, distribute, sublicense, and/or sell
copies of the Software, and to permit persons to whom the Software is
furnished to do so, subject to the following conditions:
The above copyright notice and this permission notice shall be included in all
copies or substantial portions of the Software.
THE SOFTWARE IS PROVIDED "AS IS", WITHOUT WARRANTY OF ANY KIND, EXPRESS OR
IMPLIED, INCLUDING BUT NOT LIMITED TO THE WARRANTIES OF MERCHANTABILITY,
FITNESS FOR A PARTICULAR PURPOSE AND NONINFRINGEMENT. IN NO EVENT SHALL THE
AUTHORS OR COPYRIGHT HOLDERS BE LIABLE FOR ANY CLAIM, DAMAGES OR OTHER
LIABILITY, WHETHER IN AN ACTION OF CONTRACT, TORT OR OTHERWISE, ARISING FROM,
OUT OF OR IN CONNECTION WITH THE SOFTWARE OR THE USE OR OTHER DEALINGS IN THE
SOFTWARE.注意吧你的
Copyright (c) 2023 quanyi改成你的时间和名字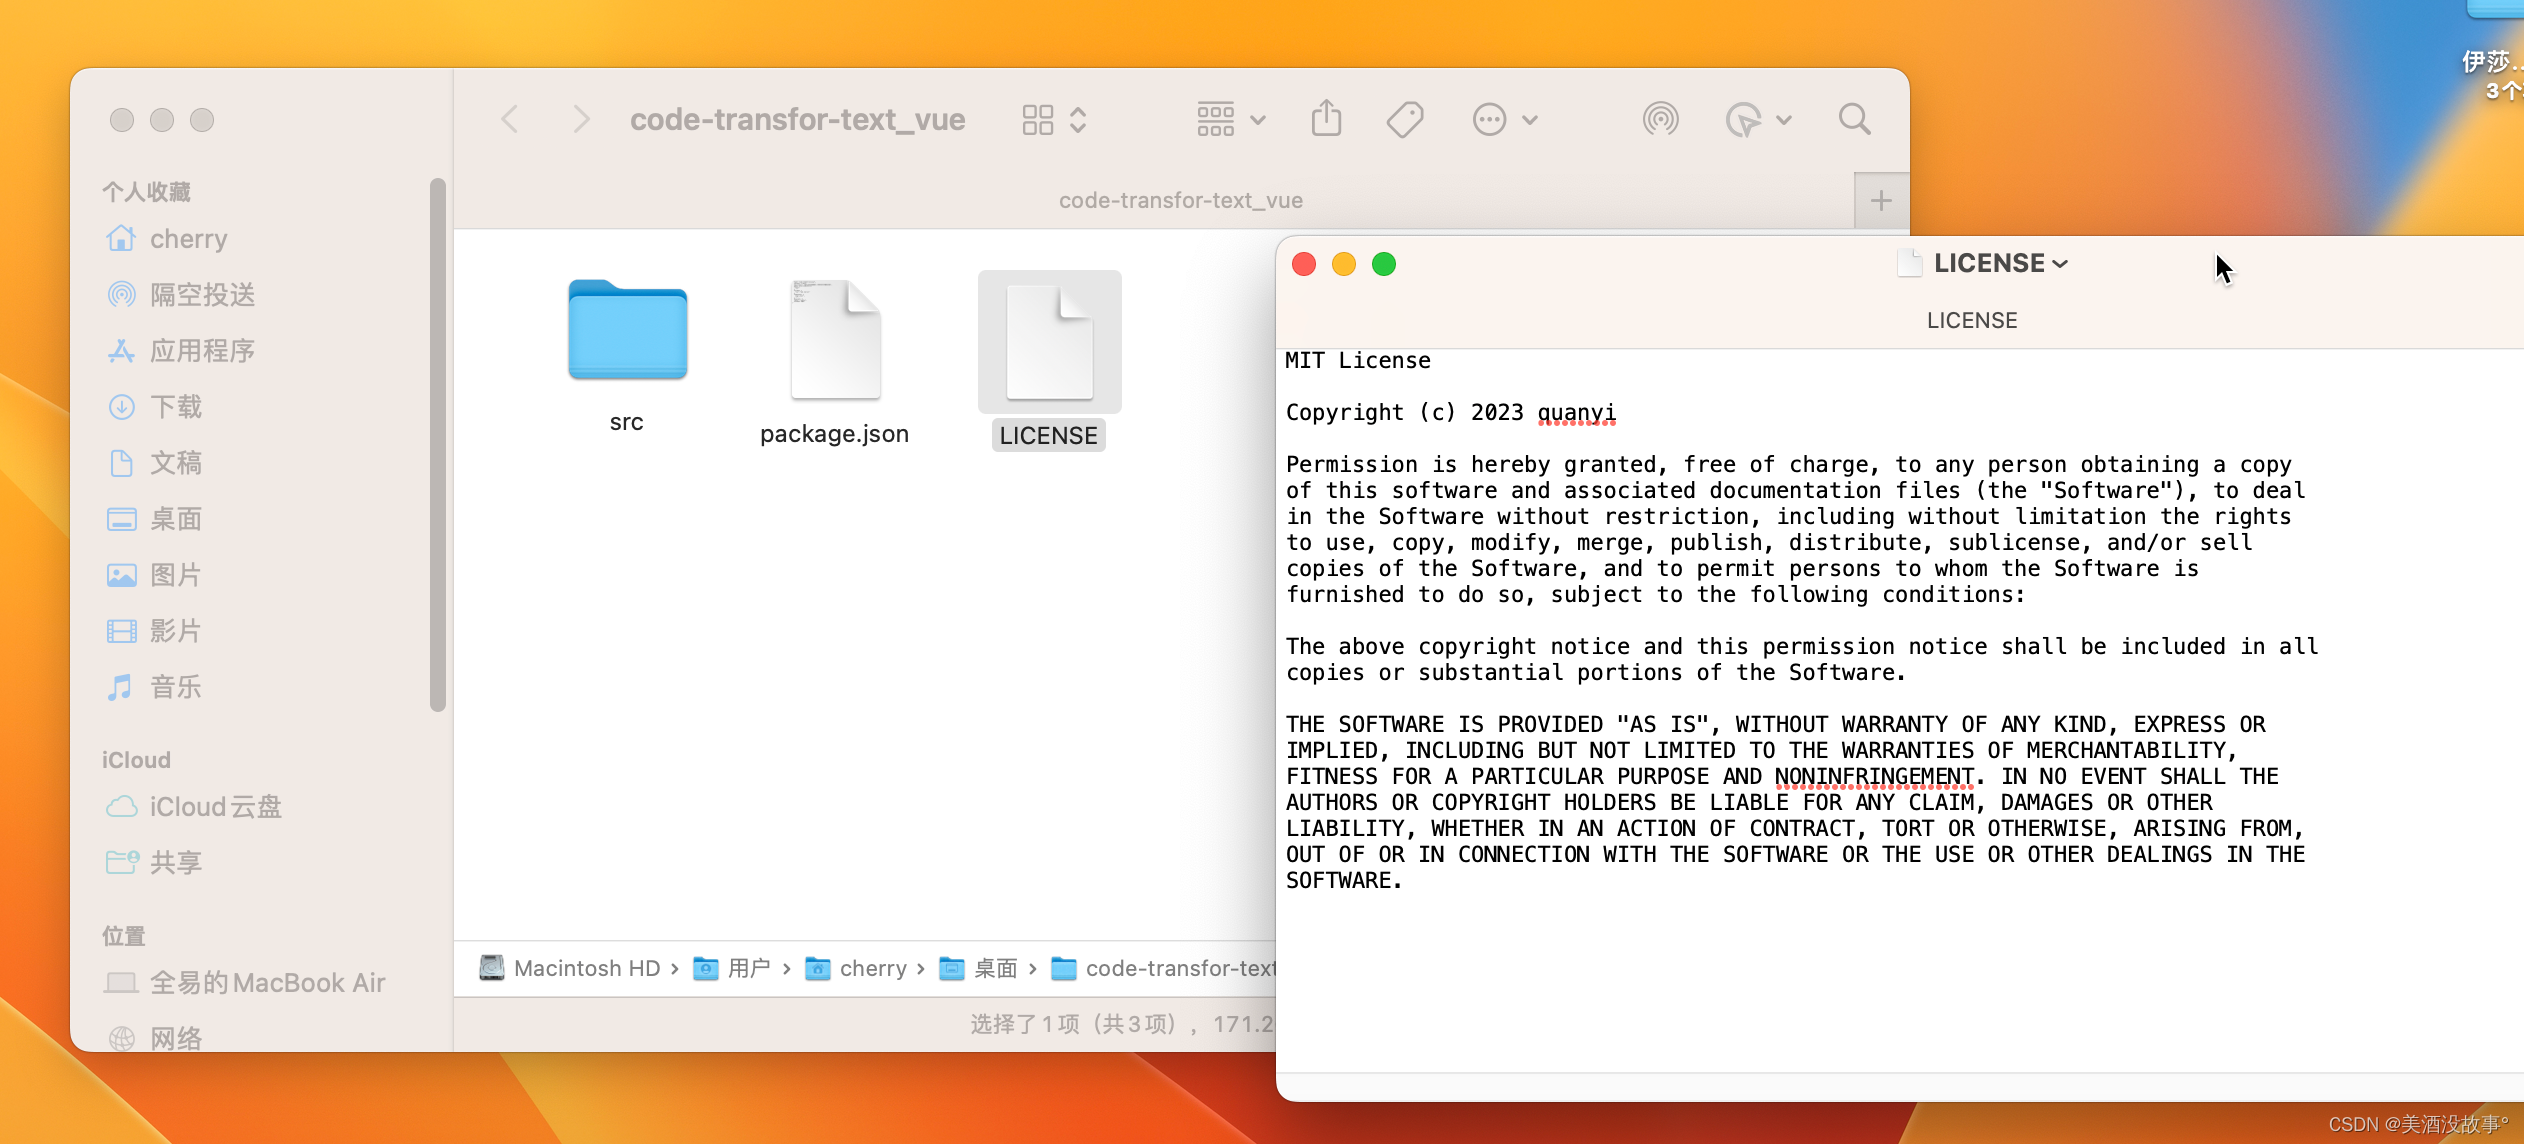
项目基本搭建完毕,开始你的功能开发吧

功能开发中,建立实时本地软链接进行测试
1
npm link会在全局包生成个临时的软链接

有了软链接后,在你测试的项目里与软链接达成连接
1 | |
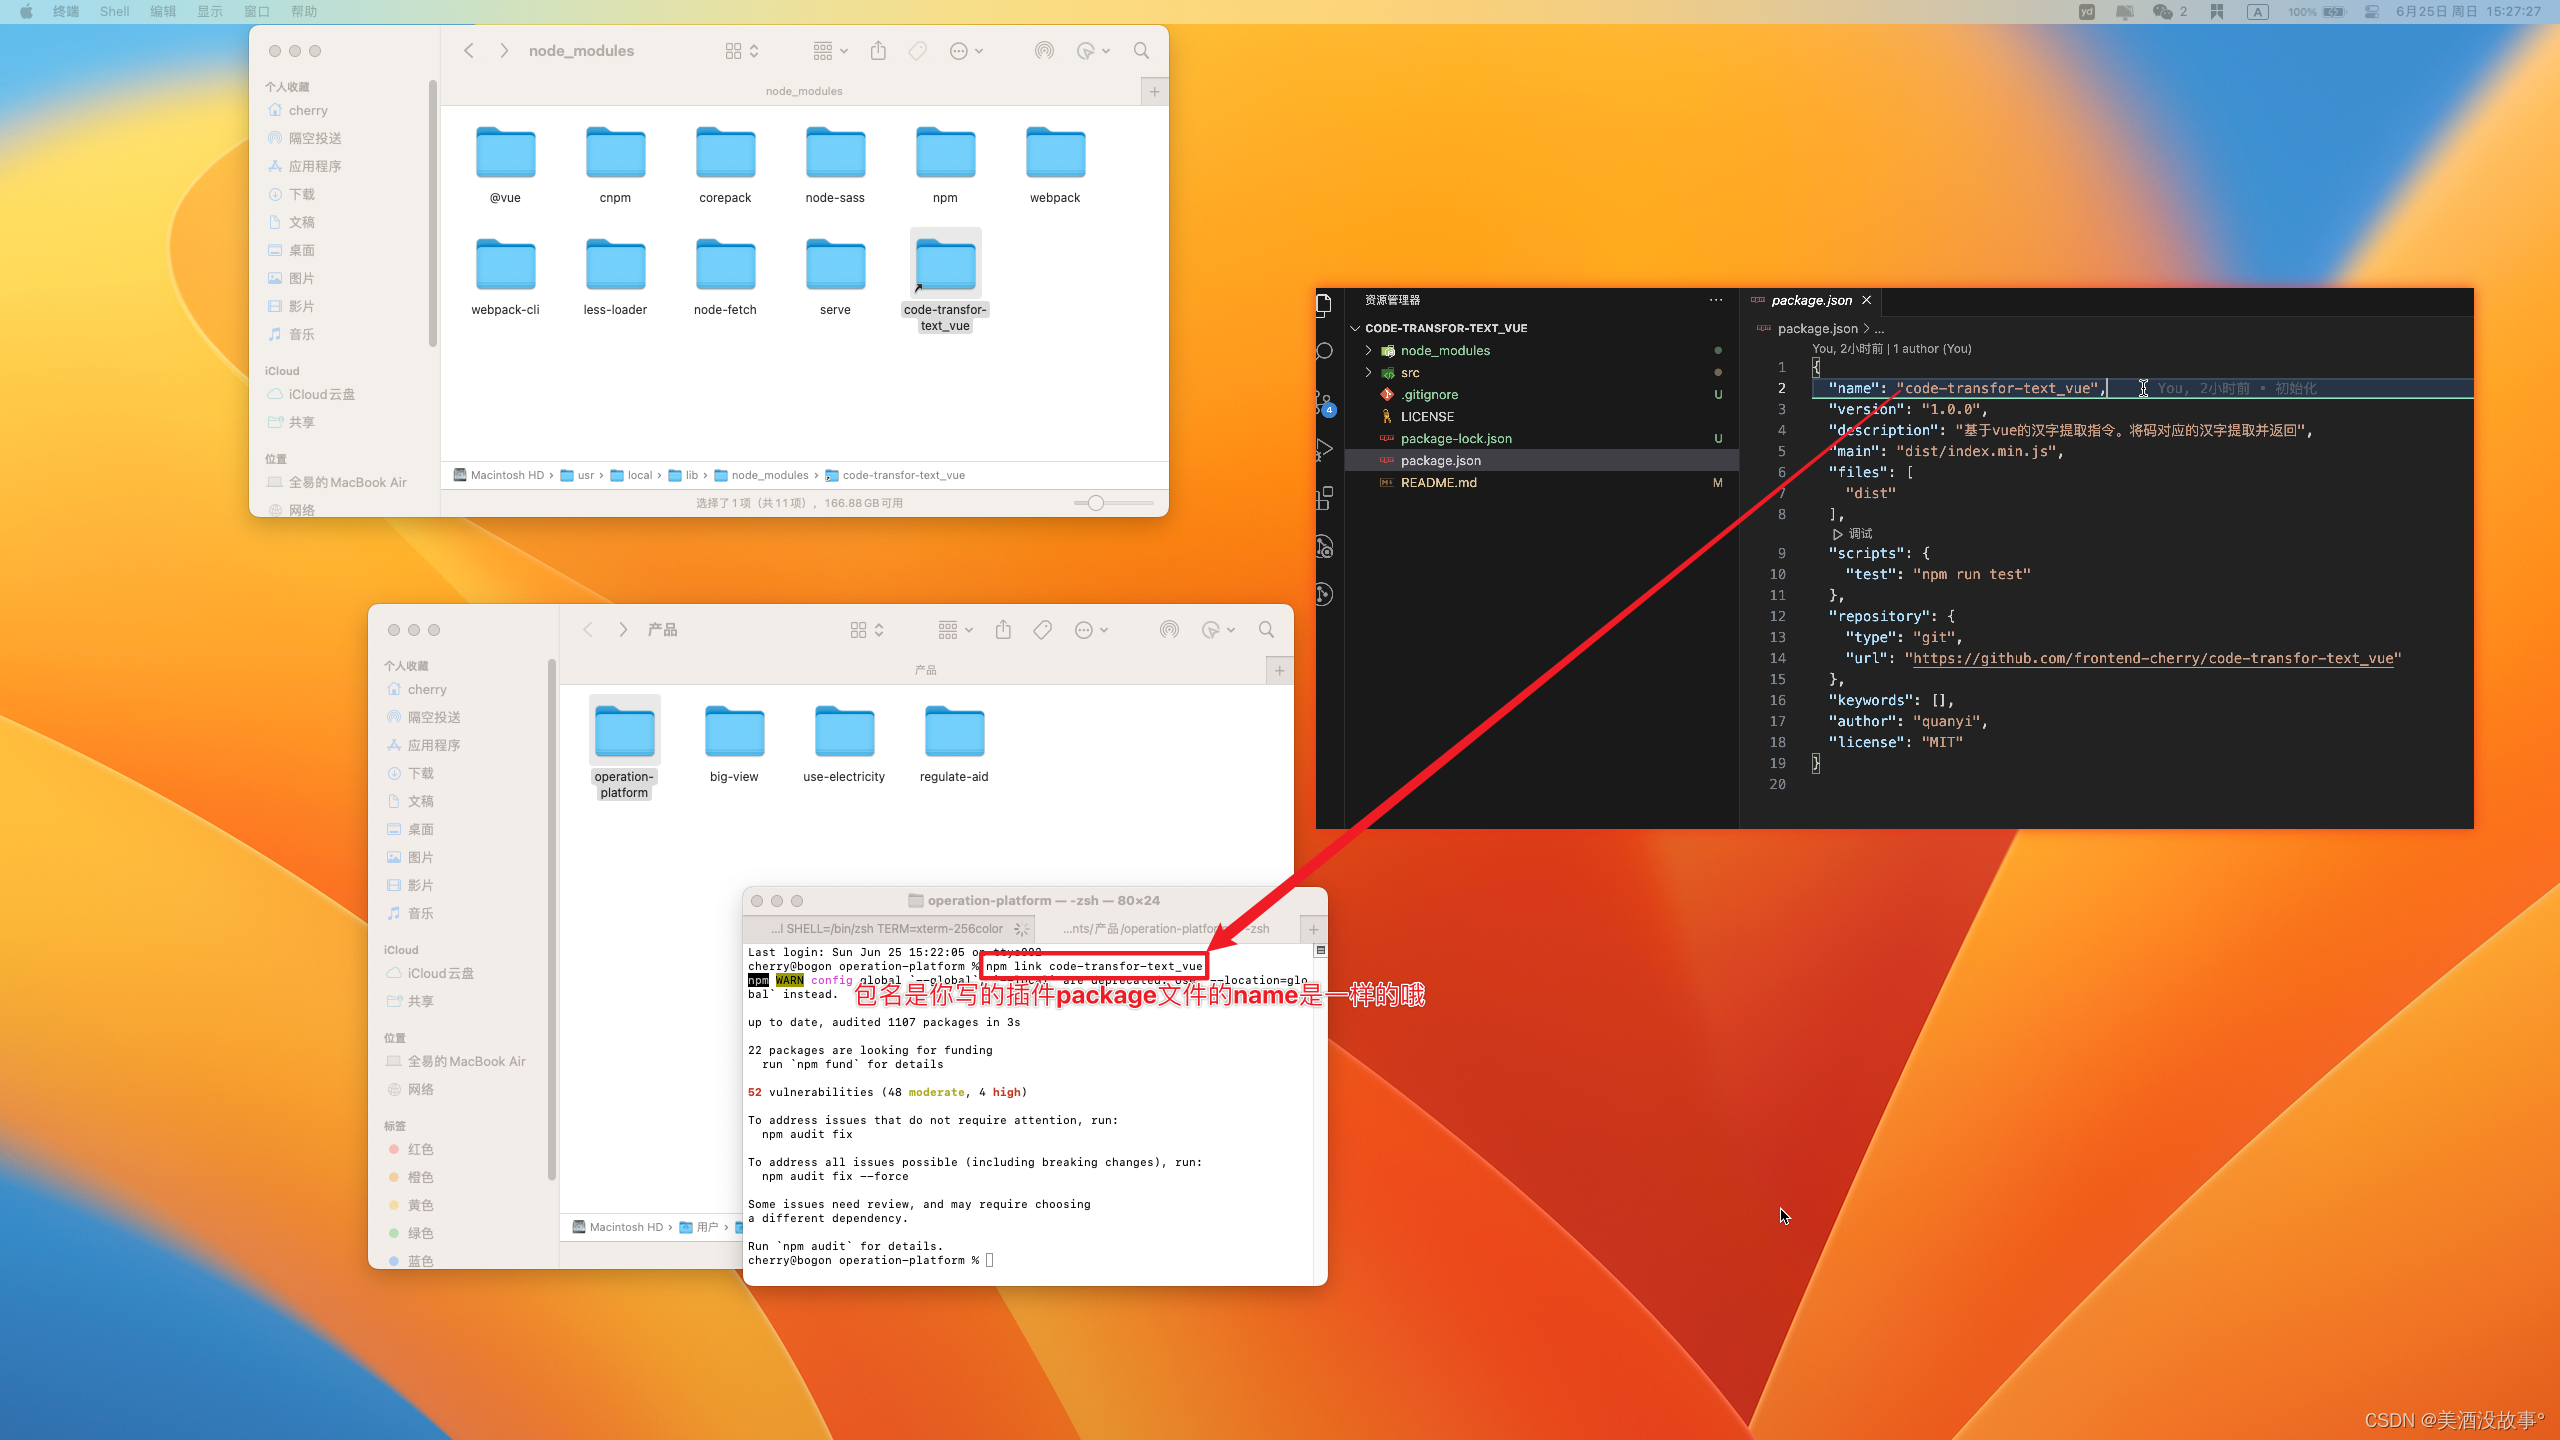
然后就是在你测试的项目里import
1 | |
使用试试看
- 测试完毕没问题记得解除你测试项目里的软链接连接
1
npm unlink 包名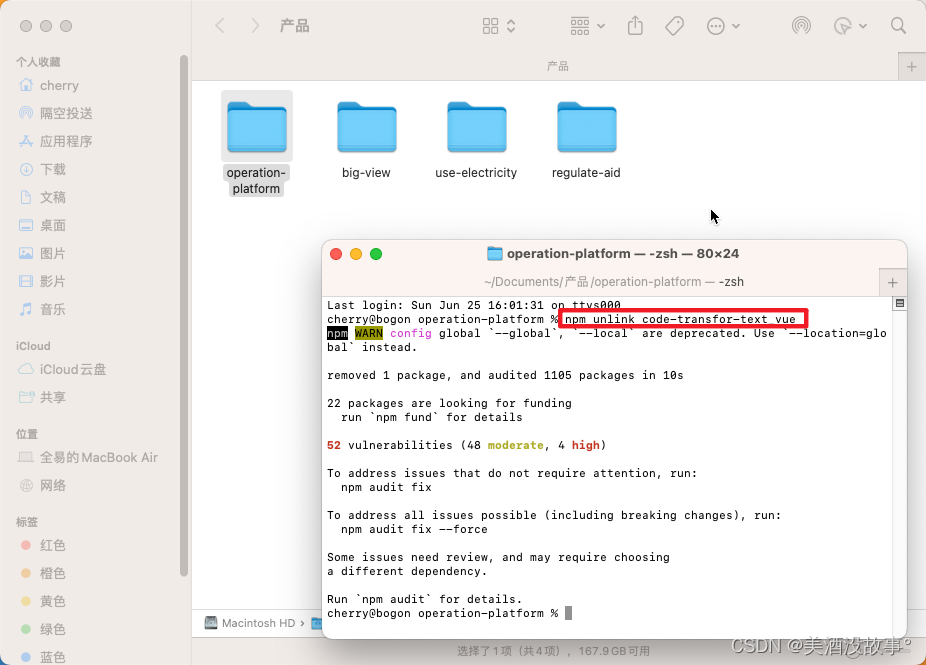
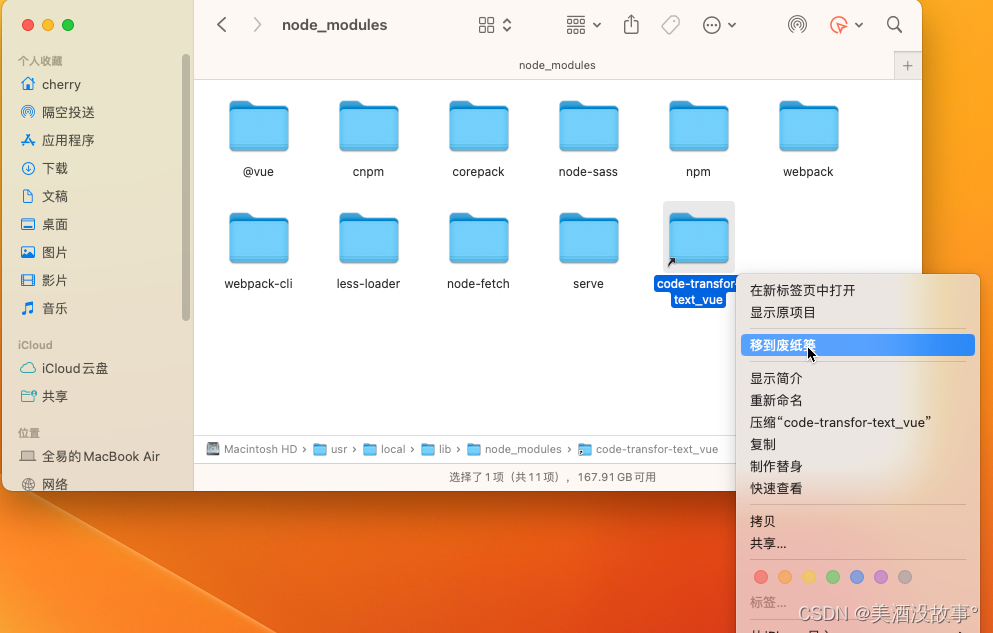
同时存在全局包的软链接记得删除:
一切准备就绪,可以发布了
- 如果包比较大想要打包一下,使用该步骤
项目根目录创建webpack.config.js文件,写入:
1 | |
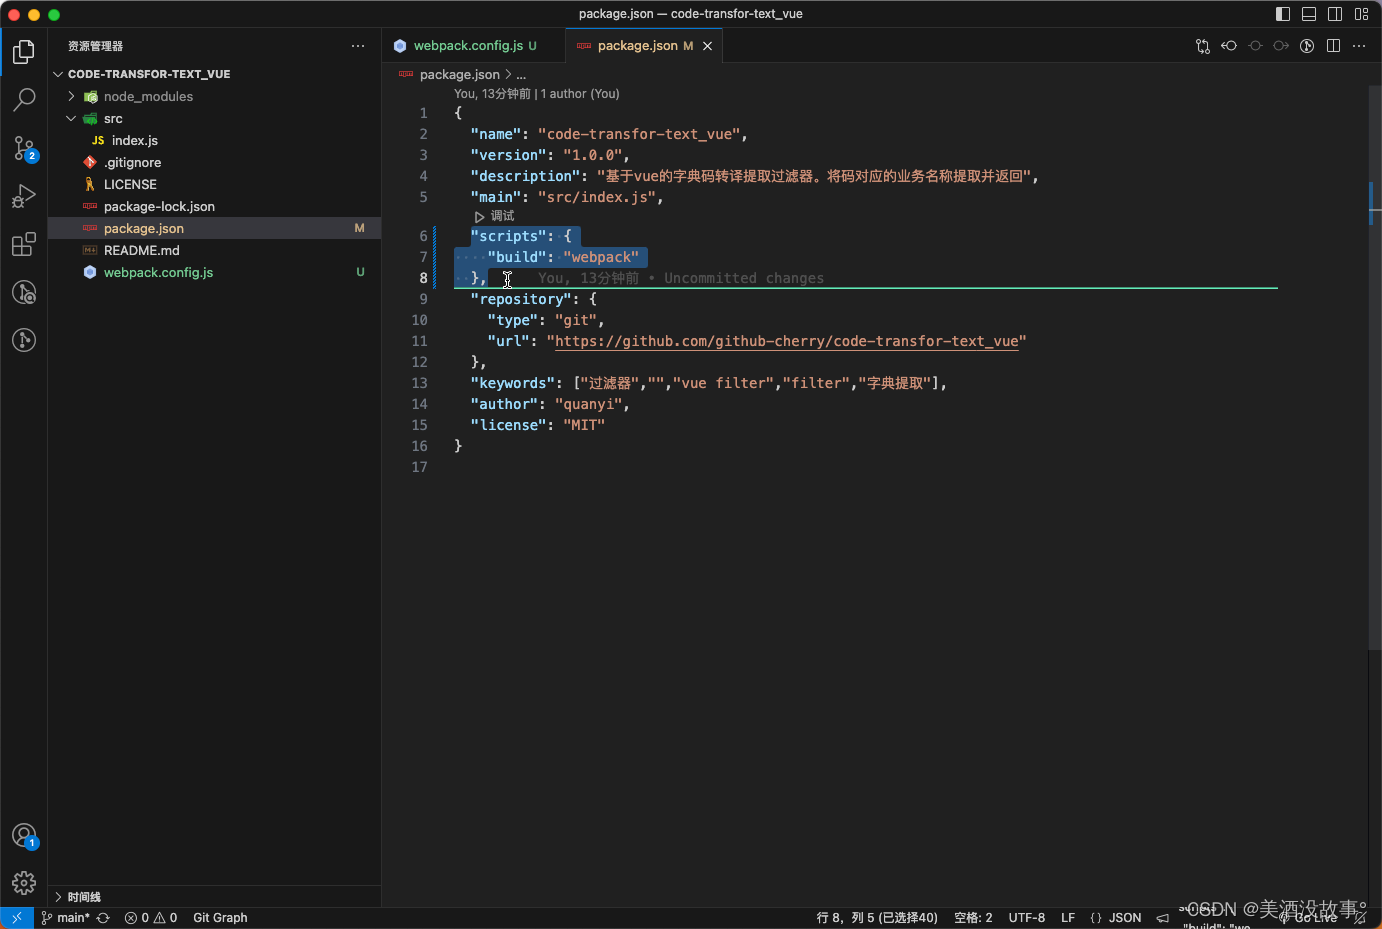
package.json文件配置scripts:
1 | |
那么此时给项目执行打包
1 | |
可以得出dist/index.js: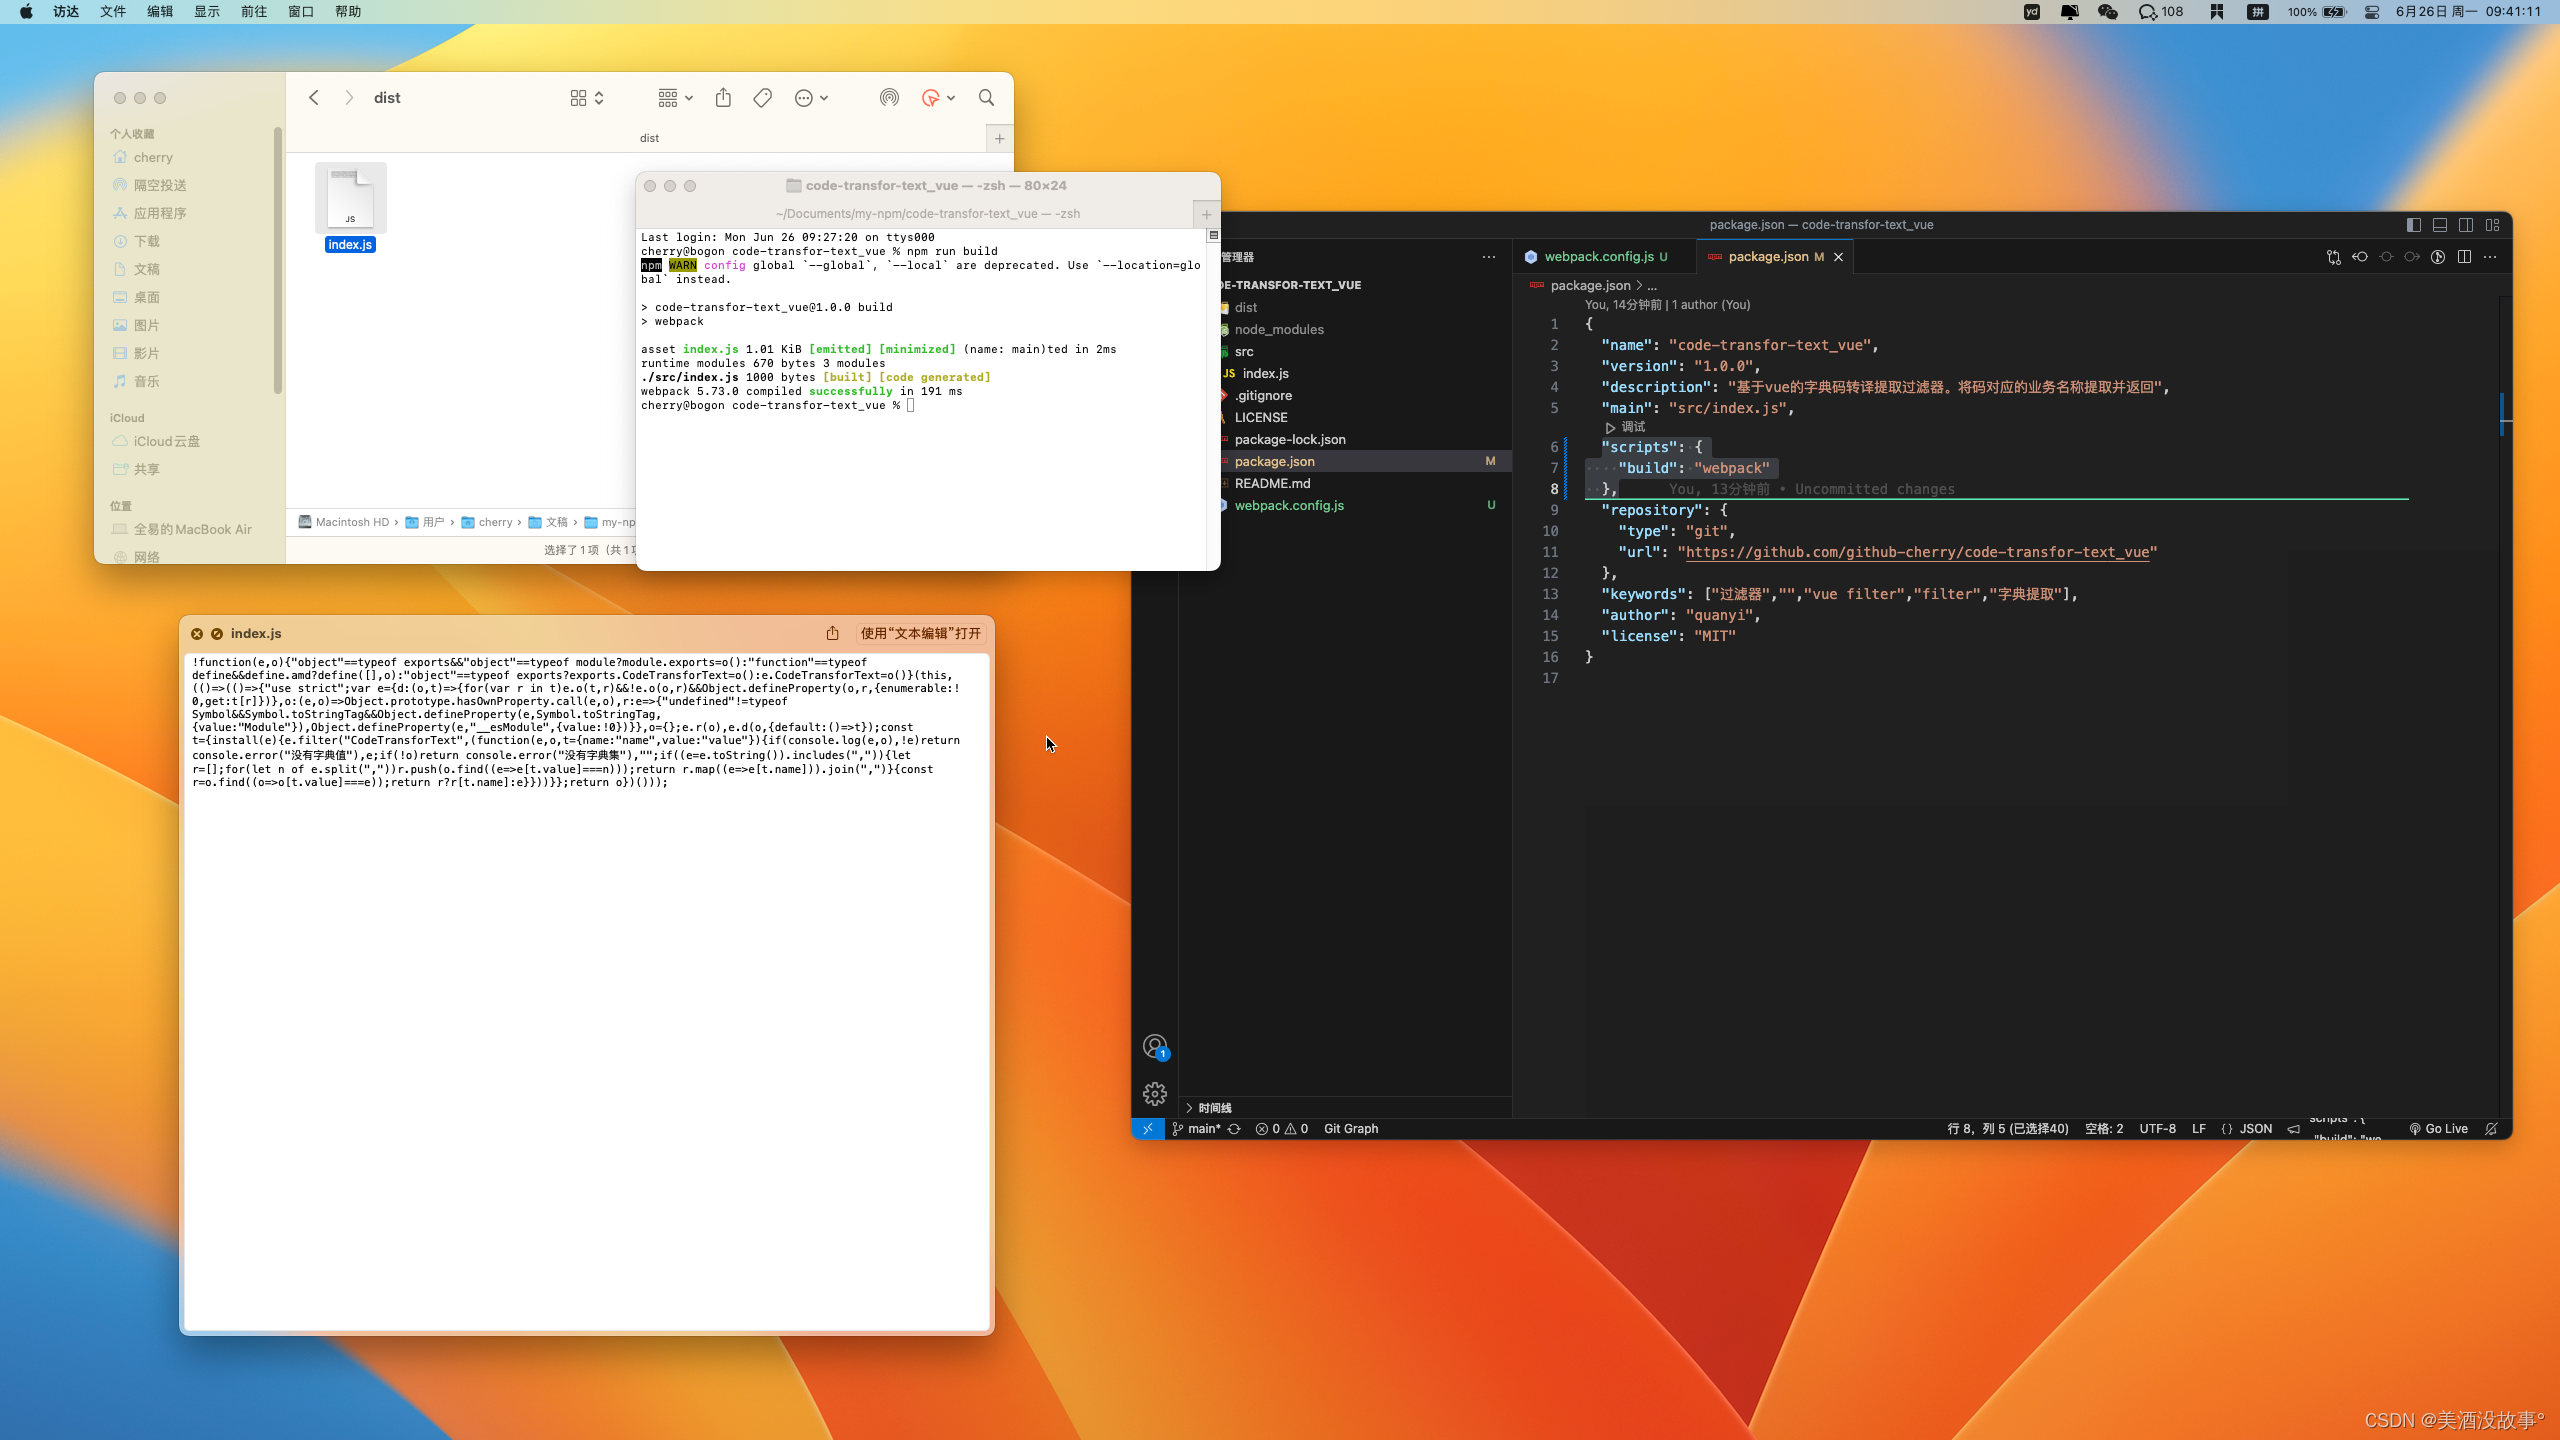
发布到npm
如果没有npm账号就先注册npm账号
有的话就登录
1
npm login https://www.npmjs.com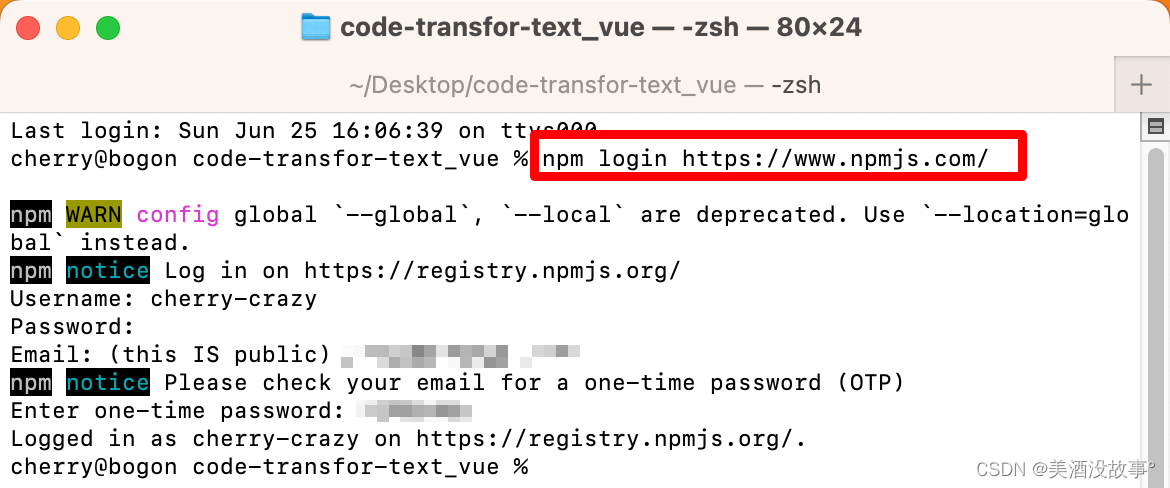
发布
1
npm publish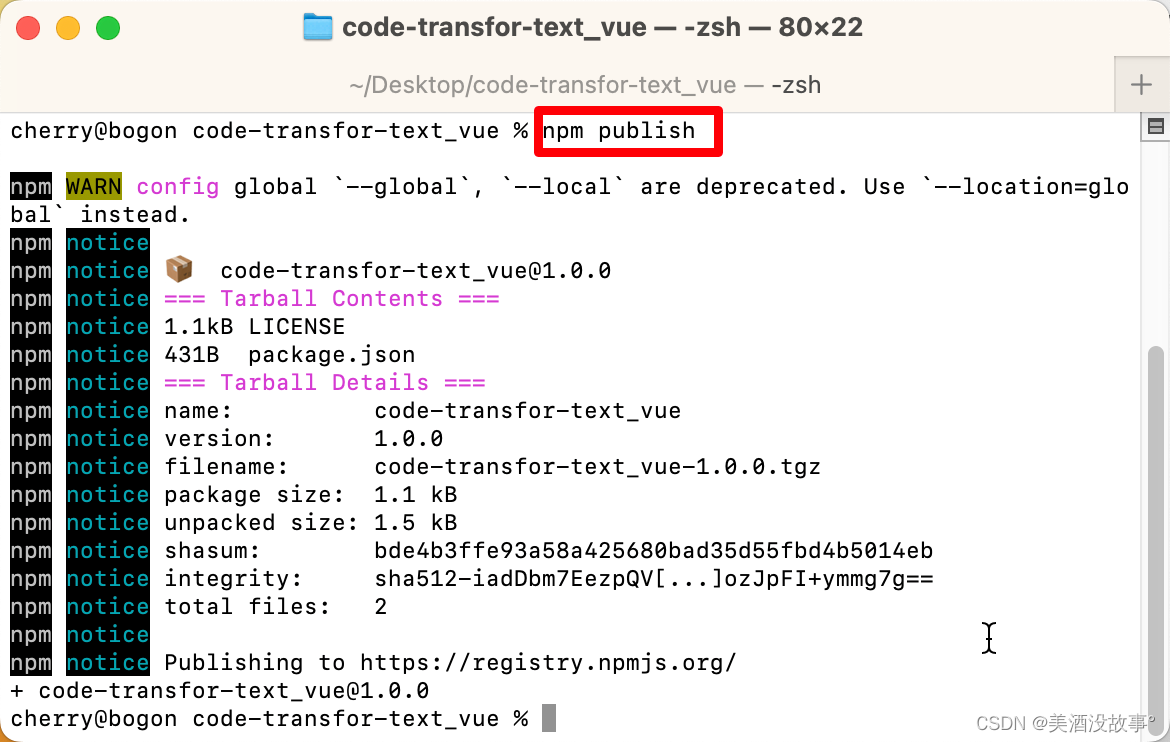
网络稍有延迟,稍到npm你的账户上看看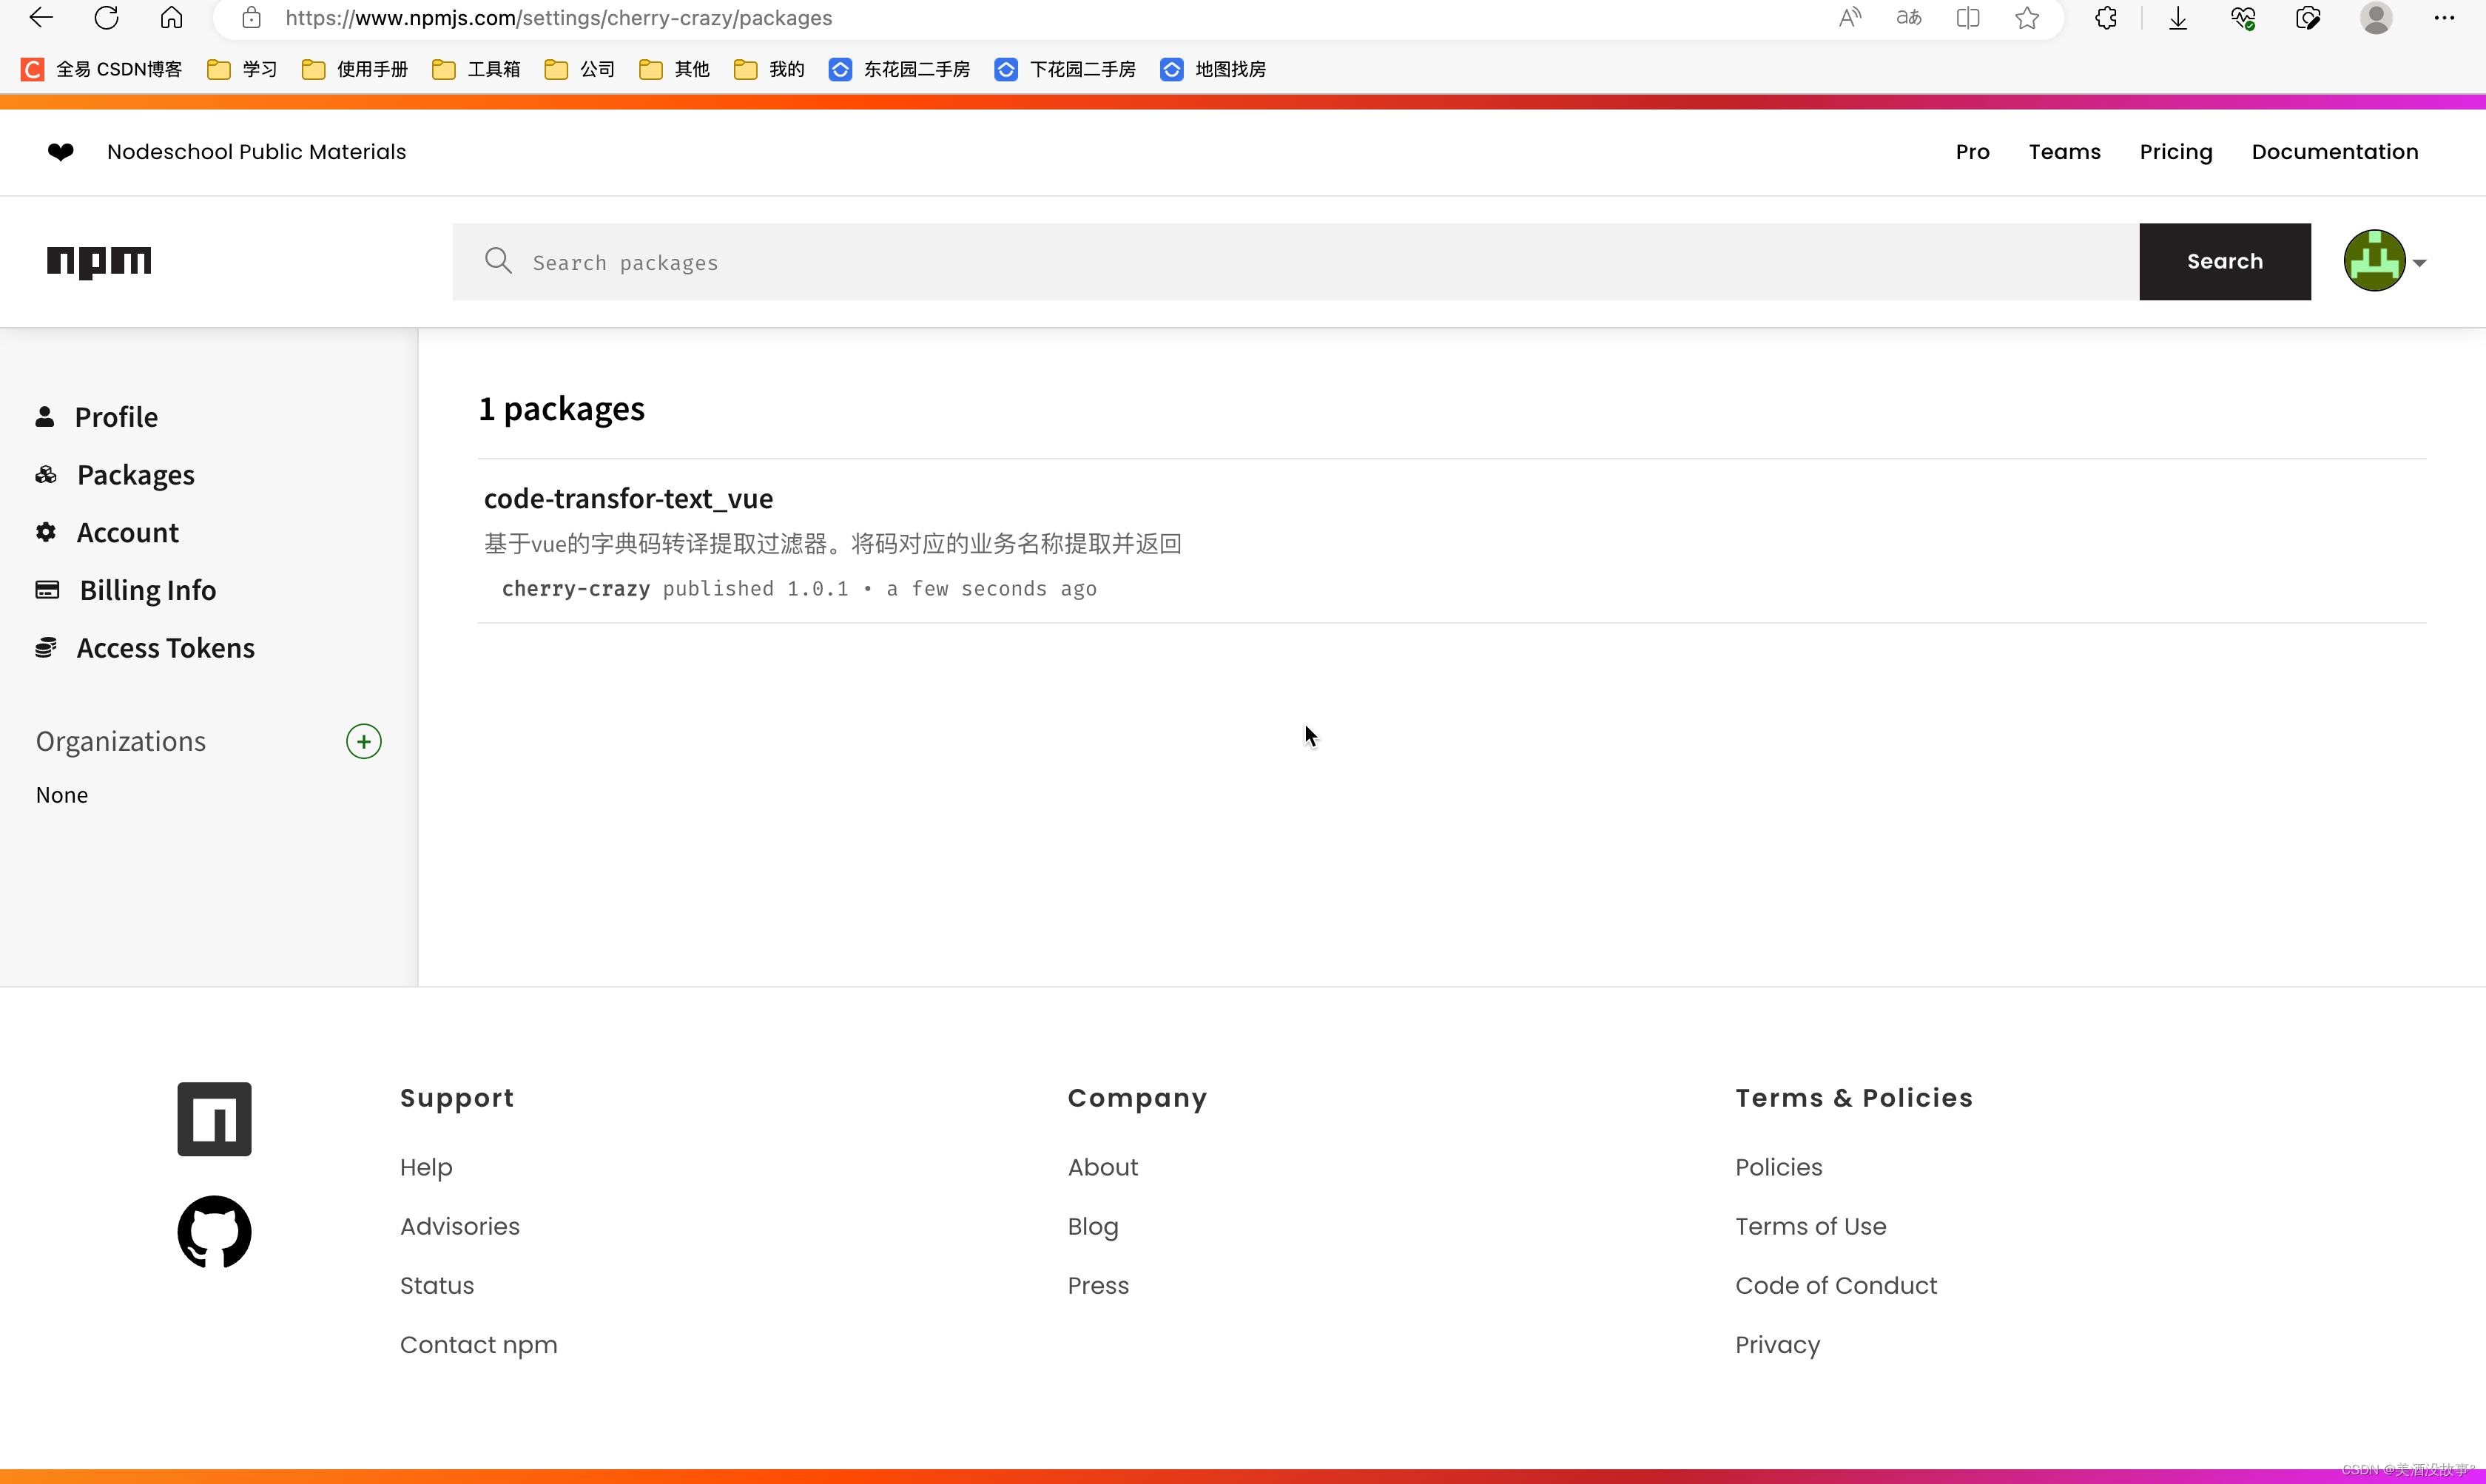
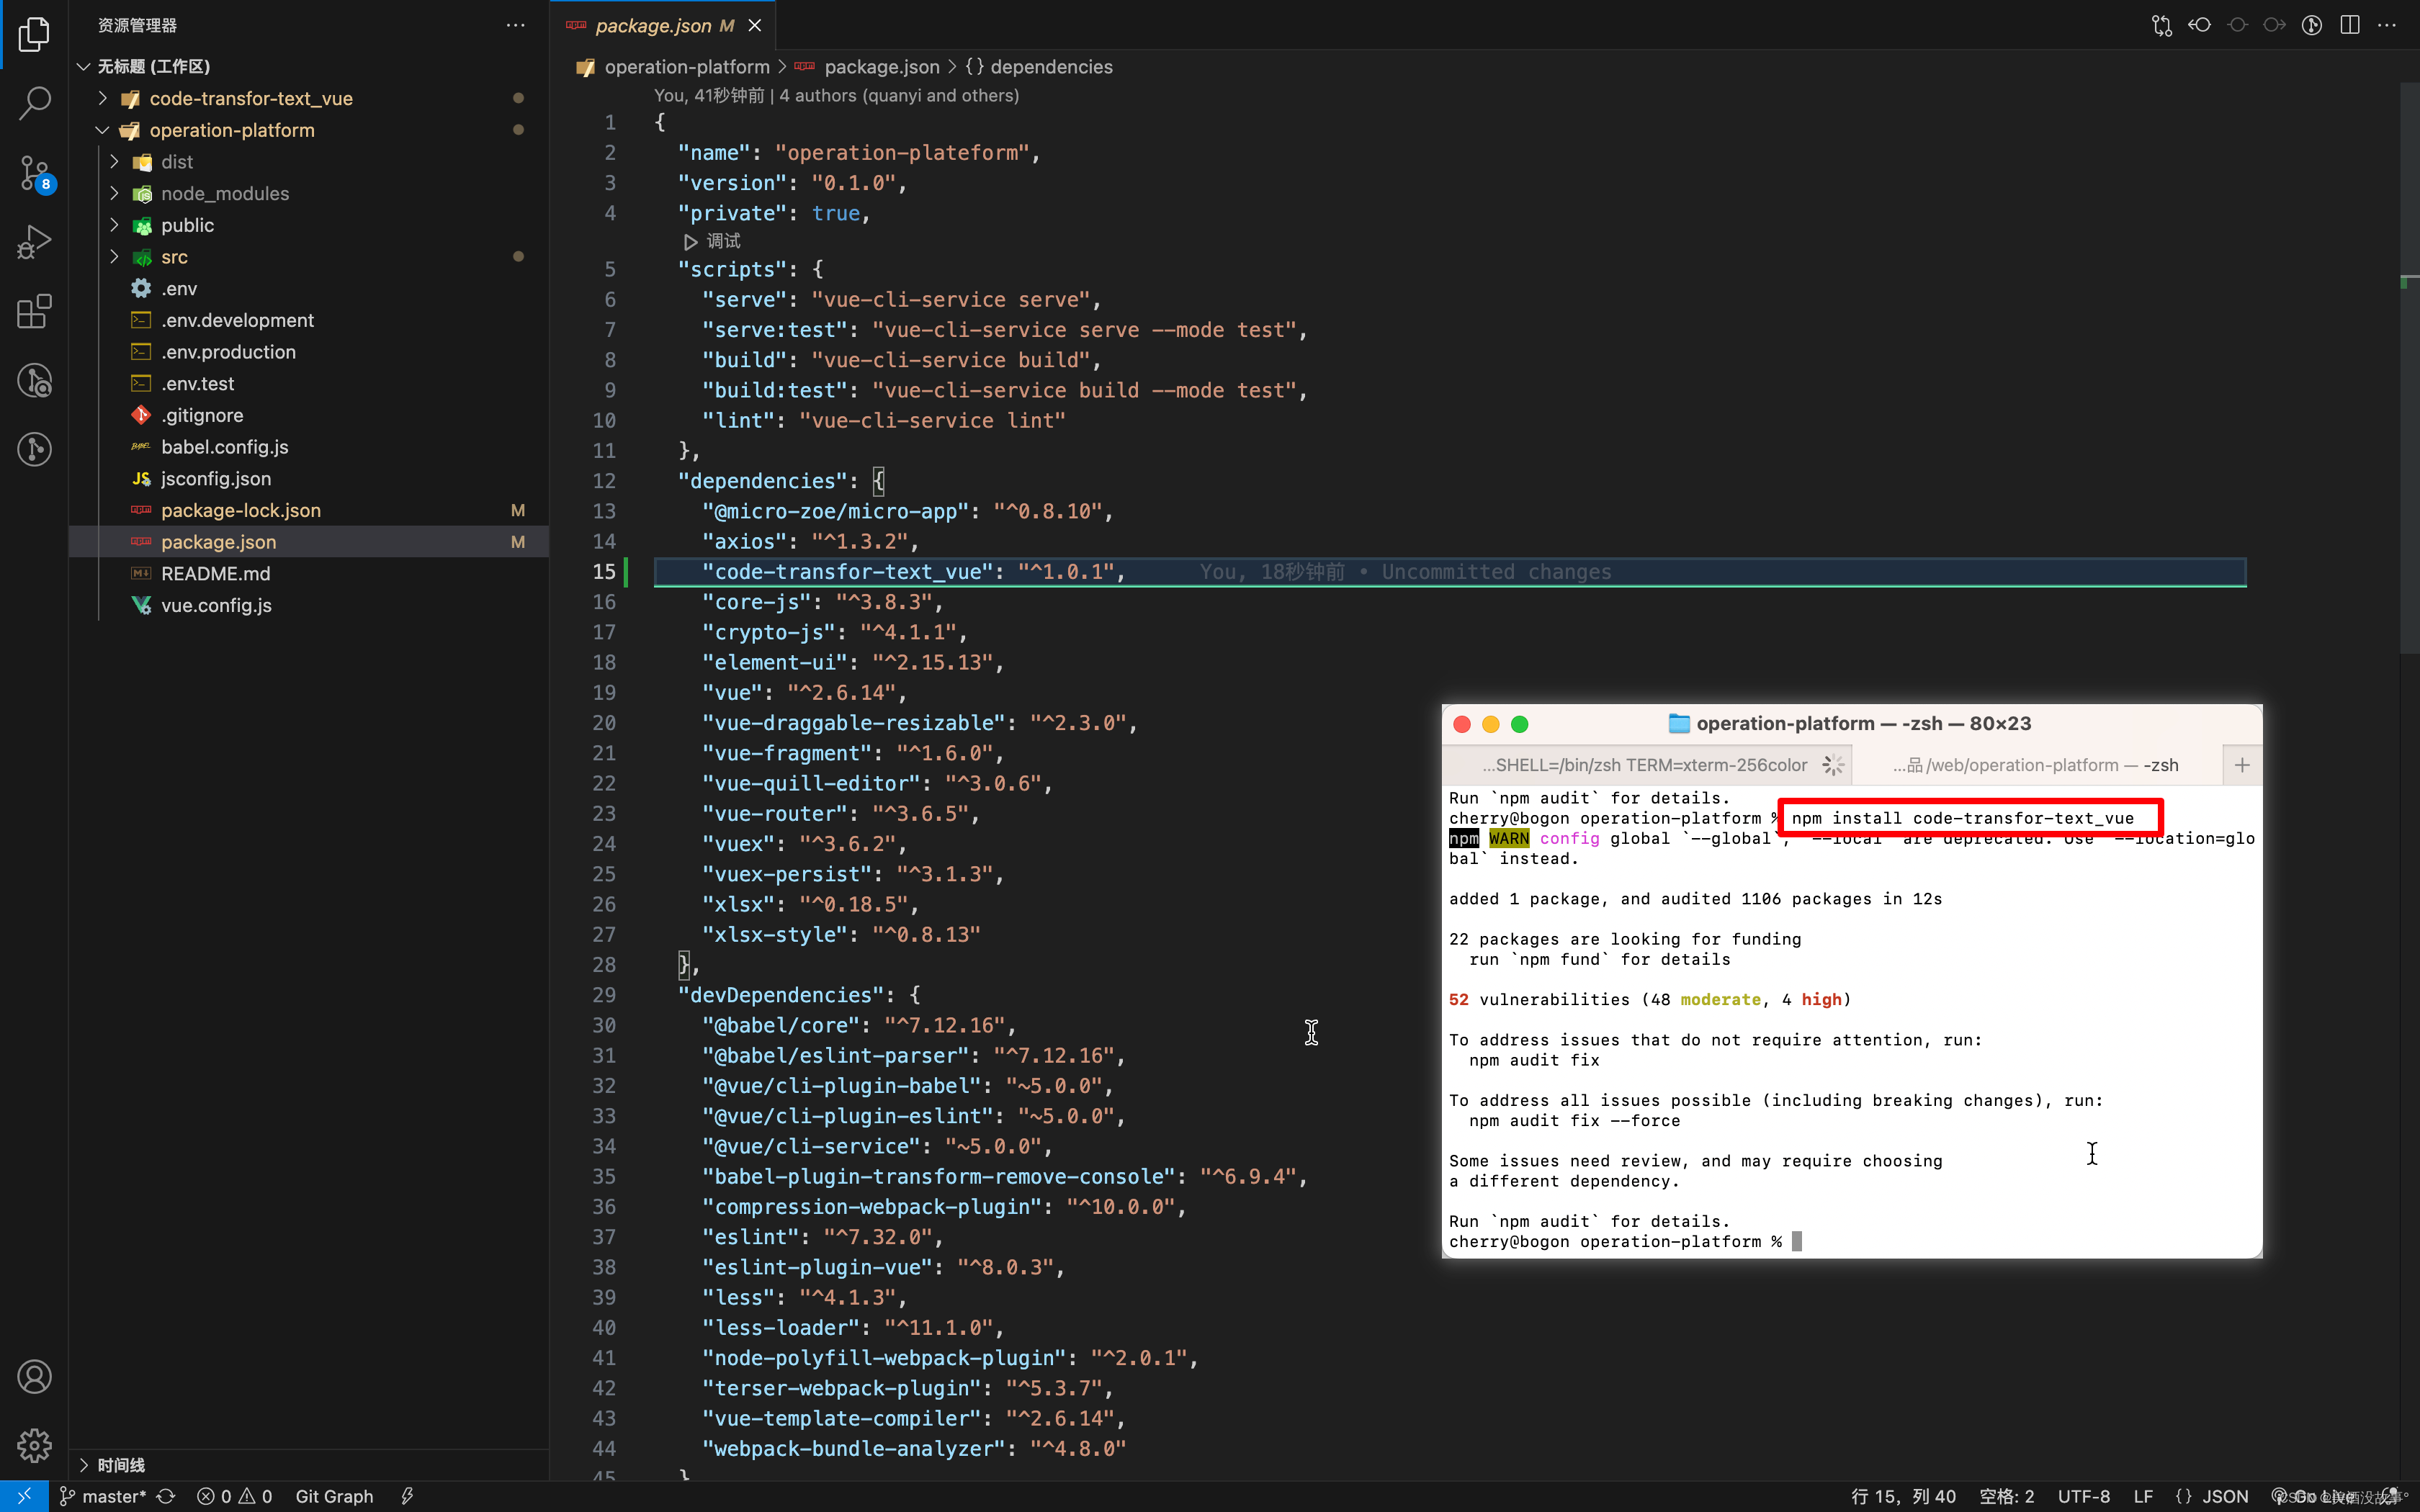
使用
那么现在就可以下载了
1 | |
npm发布自己的公网包步骤详解
https://github.com/chergn/chergn.github.io/b8bef1c5fc71/